


Thinking back to when I first bought my tube, a little over a year ago, I remember seeing a lot of modifications on tubes but not a lot of information. It gave me a lot of ideas, but didn't know how to start. Since there have been an increase of fish finder and rod holder questions recently, I decided to post up the combo rig I made up for my FC4. Hopefully this will not only put ideas in other tuber's heads, but to help them put together one of their own.
The first modification I wanted to do to my FC4 was to add a rod holder. I was lazy and wanted it to be cheap so I went out to BPS and bought a three pole holder. Then I went to Wal Mart and bought a couple utility straps. Although it worked, it was kinda cumbersome as it bounced around as I moved, strapping it down securely was a chore, and up to three inches of my rod butts got wet.
Tube Mod: First Attempt
It wasn't long after the first few trips that I was thinking of making a rod holder out of PVC. Around the same time, I was tubing Perris one day and ran into another tuber. Not only did he have a rod holder made out of PVC, but he also had a fish finder velcroed onto his tube. I thought the addition of a fish finder would be cool so I had to not only come up with how to make a rod holder, but to also find a way to put a fish finder mount and a transducer mount. For those with an FC4, you know that there really isn't much space to work with.
I immediately went to work and came up with the "Socal Rig". This is actually a two part assembly, not one. I designed it that way so I can remove the fish finder/transducer assembly and attach an extra rod holder if ever I felt like not using the fish finder. I've also came up with a camera mount also. Although, I haven't used either one because I really dig having the finder on board.
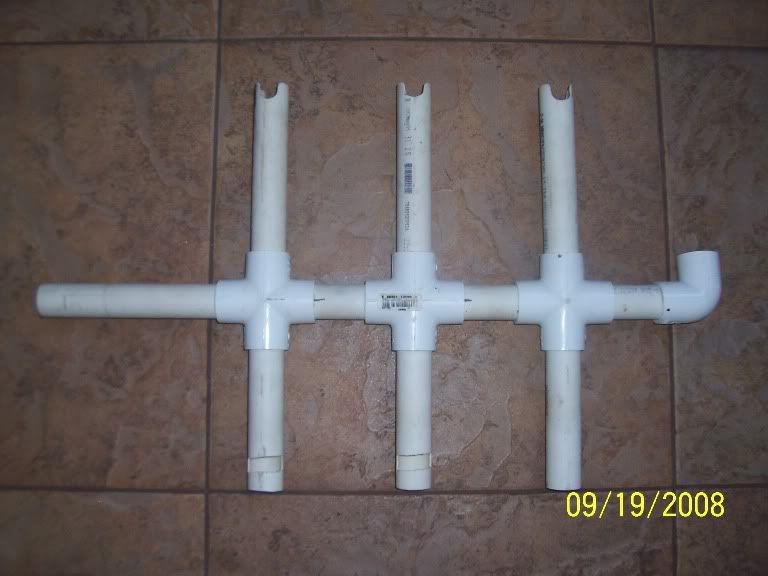
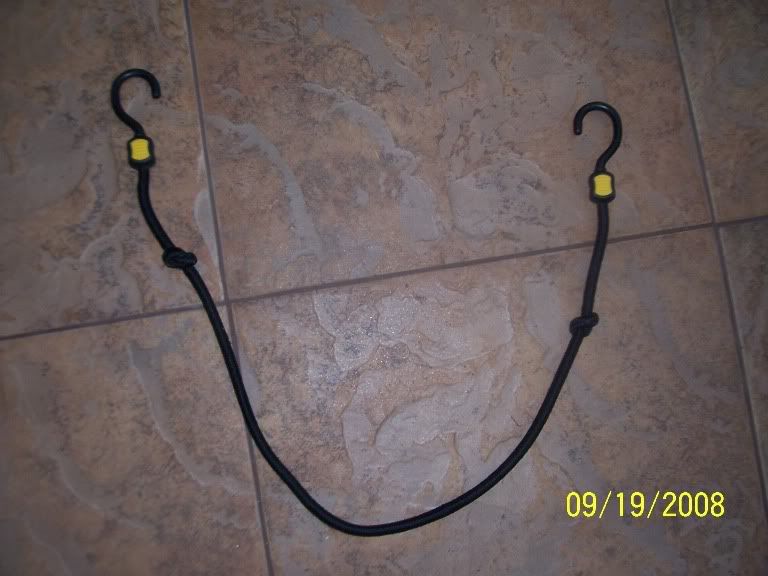
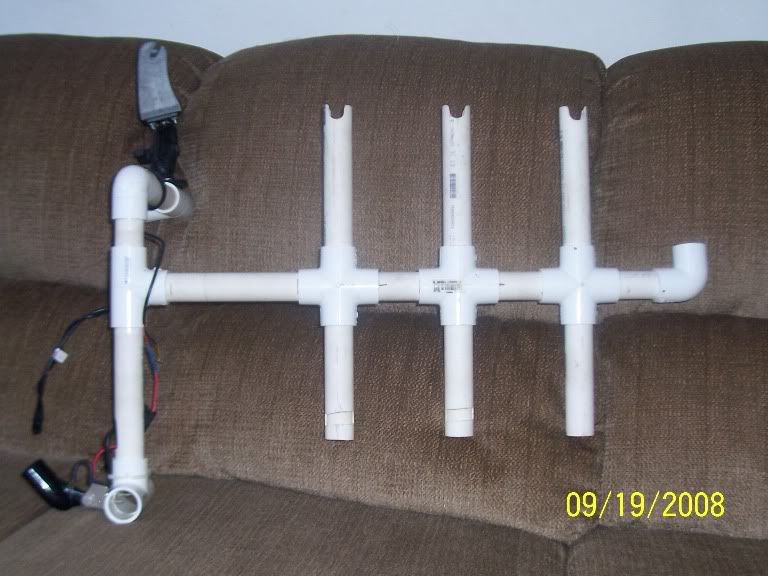
The PVC I decided to use for this project was 1/4" schedule 20 PVC. It's the perfect size which fits most rod butts and since the wall is thinner than schedule 40, it made the whole rig lighter. Not to mention easier to work with. First, I put the rod holder assembly together for fit. The three upper tubes are 8" long and the three bottom tubes are 6" long. Then, I cut three 4.5" tubes which connected the rod holders together. The last piece was an 8" tube which is used to connect the rod holder to the fish finder assembly. Then, using a Dremel, I cut slits in the upper tubes where the reel or the trigger of a casting rod will rest. This will keep your rods from moving around as you move. I also cut slits on the first two rod holders. This is where a bungee cord will rest. The bungee cord attaches to the D-rings on the bottom of the tube and stabilizes the rod holder.
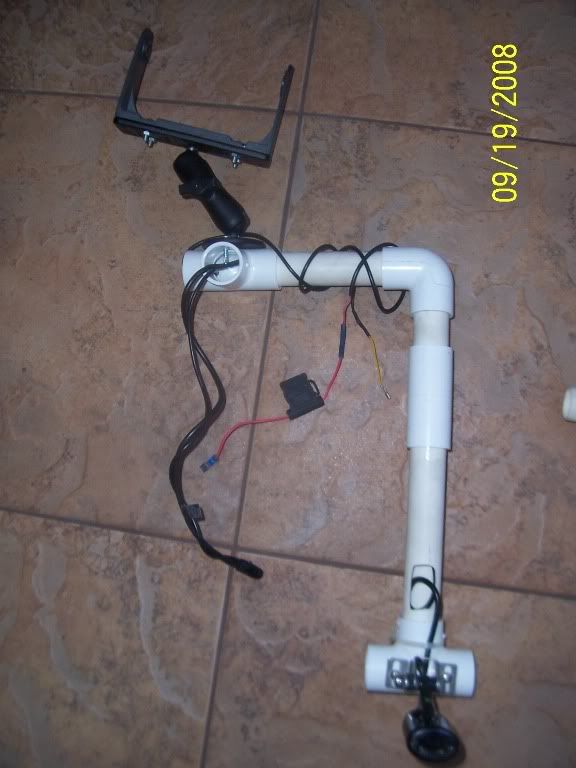
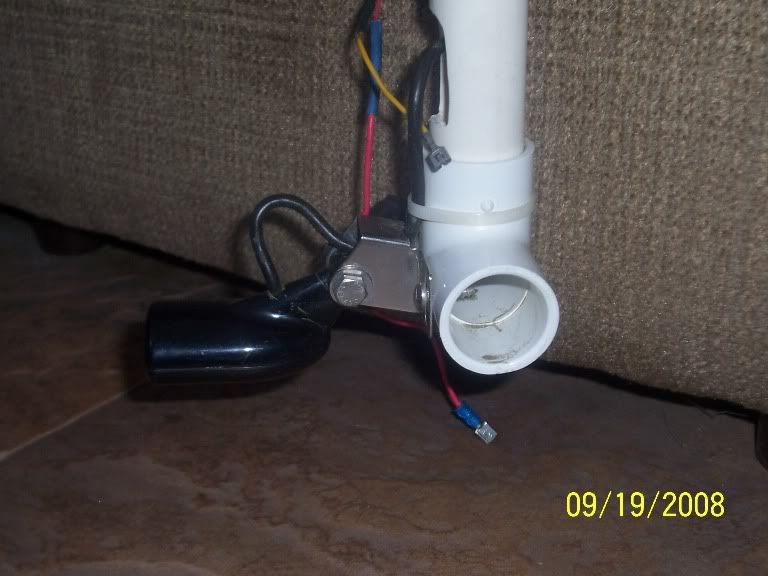
With the rod holder assembly complete, I began working on putting the fish finder assembly together. The first is the upper half where there is a 3.25" tube (I think this should be no longer than about 2.5") extending up to the crossbar which will act as the mount for the fish finder. The crossbar which should rest on top of the tube is 6" long. The second part begins with the 8.25" tube extending down to the transducer mount. Since this is just an attachment to the rod holder assembly, the power/transducer cable for the fish finder is tucked neatly inside the tubes.
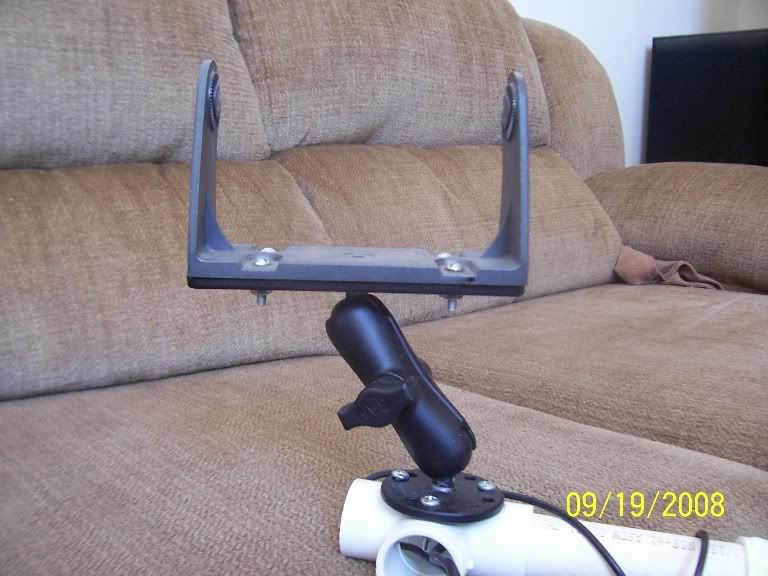
Since I was going to be using a fish finder with a big screen, the easiest way to attach it to the crossbar and have it viewable at any angle was to add a RAM mount.
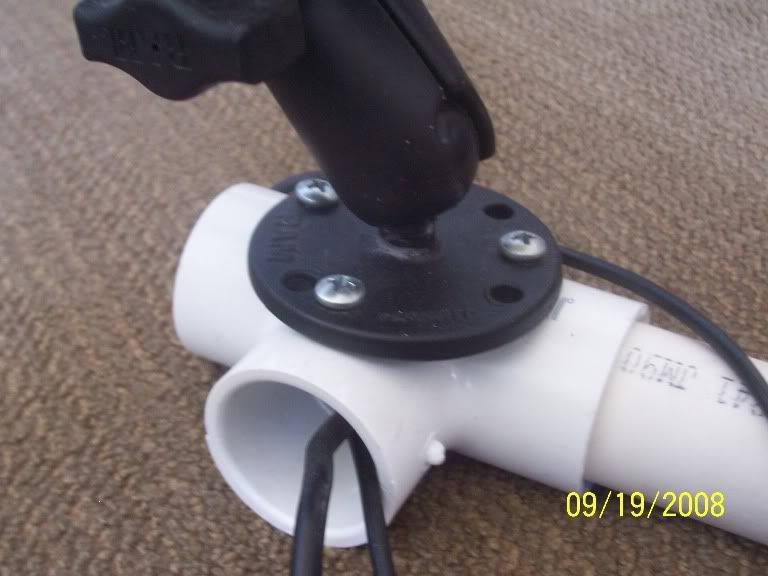
Closeup of the RAM mount attached to the terminal end of the crossbar.
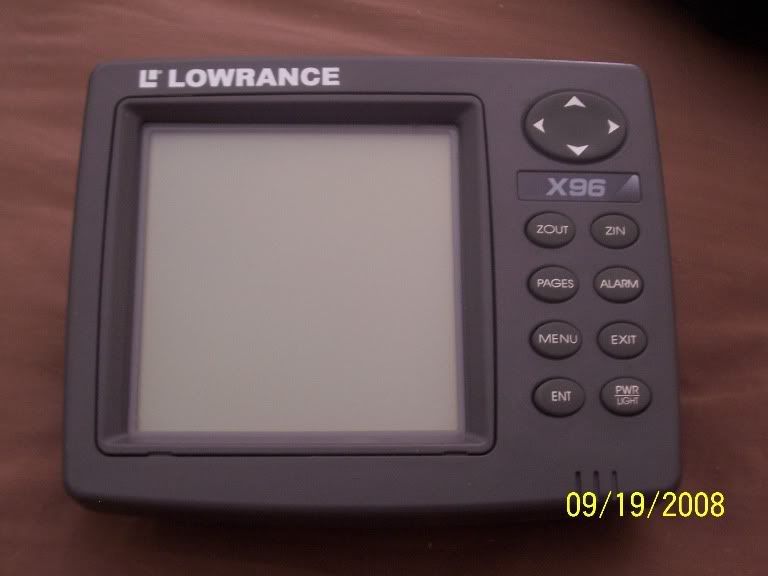
The fish finder I decided to go with was the Lowrance X96. Basically I liked the look and the features this thing had were amazing for the price. Color would've been nice, yet expensive and I also didn't need one with GPS.
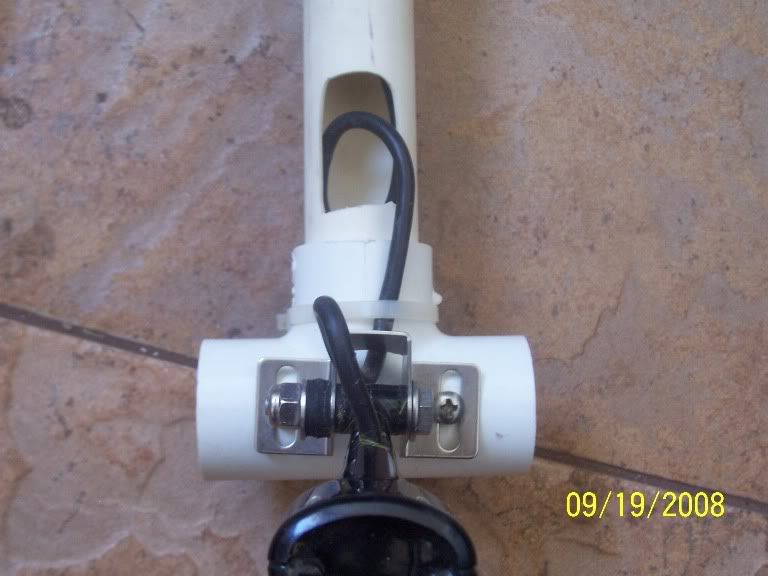
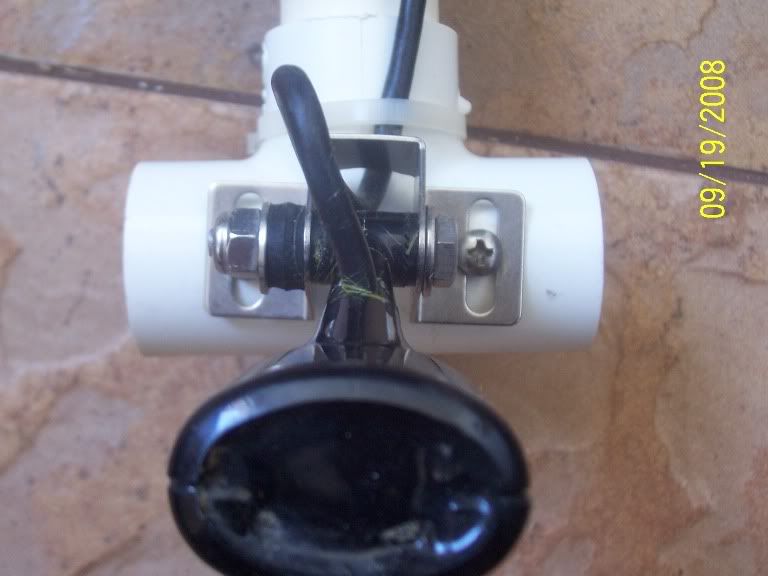
A couple shots of the transducer mount.
The power source for the fish finder was the last obstacle. It had to be 12V, had enough juice for at least a full outing, and small enough to fit in the cargo pocket of the tube. My first attempt was hooking up 8 AA batteries in series housed in two PVC pipes just big enough for the batteries to fit and not move around. This idea did power on the unit, but the batteries only lasted about 2 hours before they were drained.
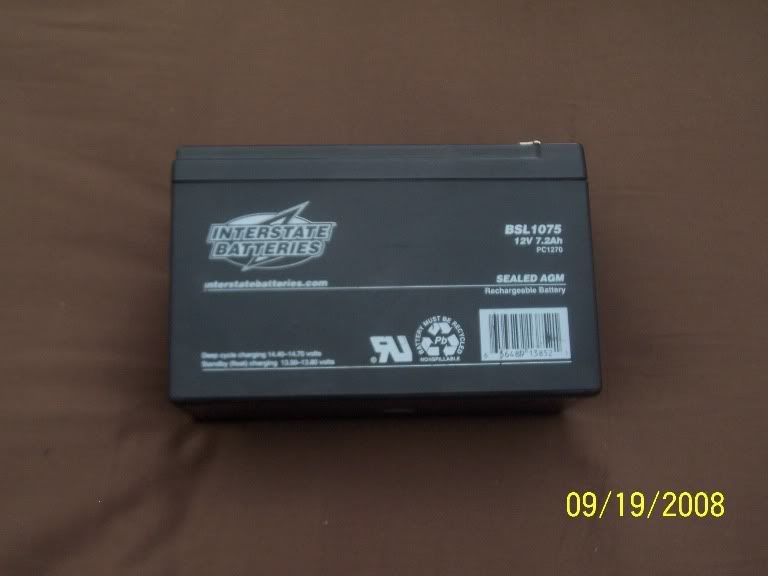
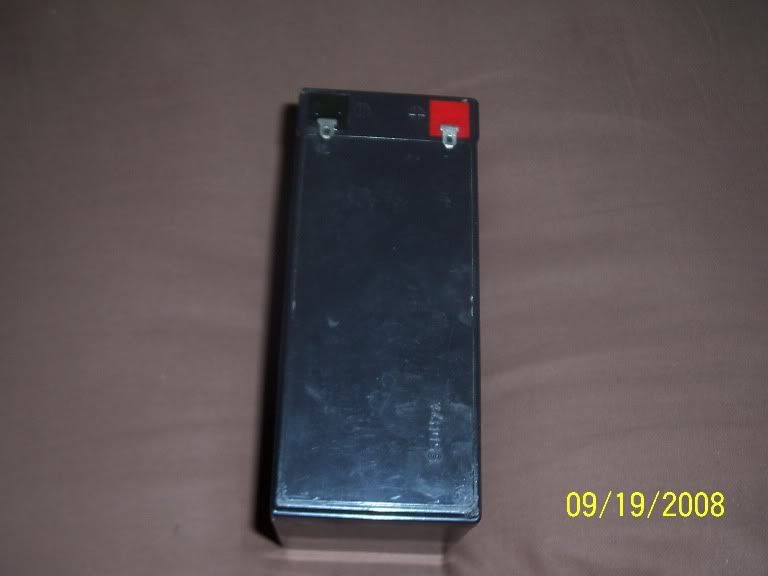
That's when I did some research and found out about small sealed lead acid batteries. They seemed small enough to fit in the cargo pocket and they are rechargeable. Available at Cabelas and most battery dealers, I decided to check them out. After making a few calls I ended up buying a 12V 7.2Ah SLA battery from Interstate Batteries in Upland.
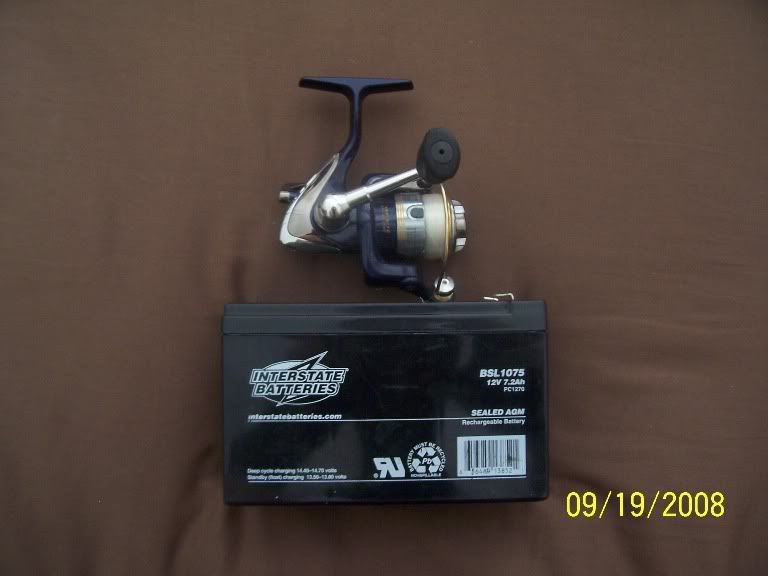
To give you an idea of how big the battery is, here is a shot comparing the battery to a Daiwa Regal 1000Xi (It looks more like a 750 size reel IMO).
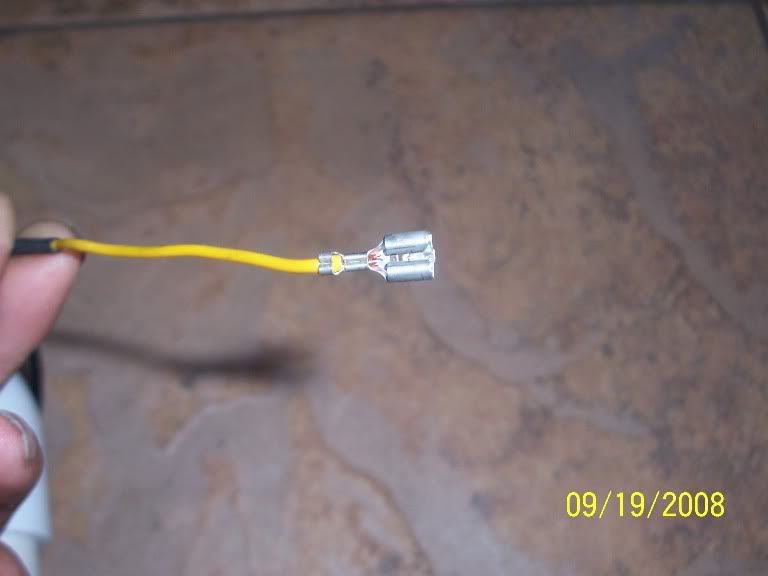
Closeup of the terminal ends I used to connect the power cable to the battery.
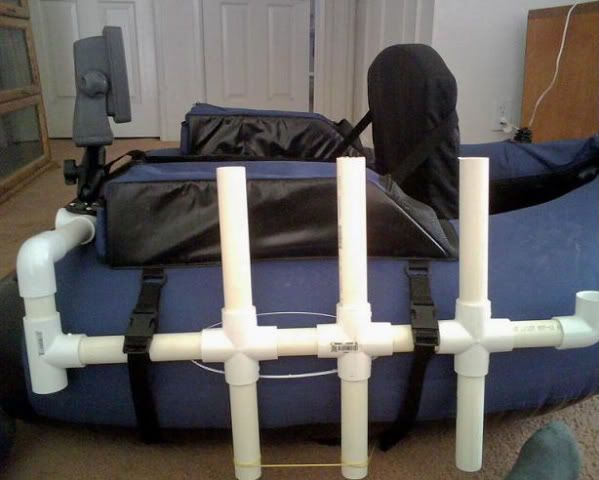
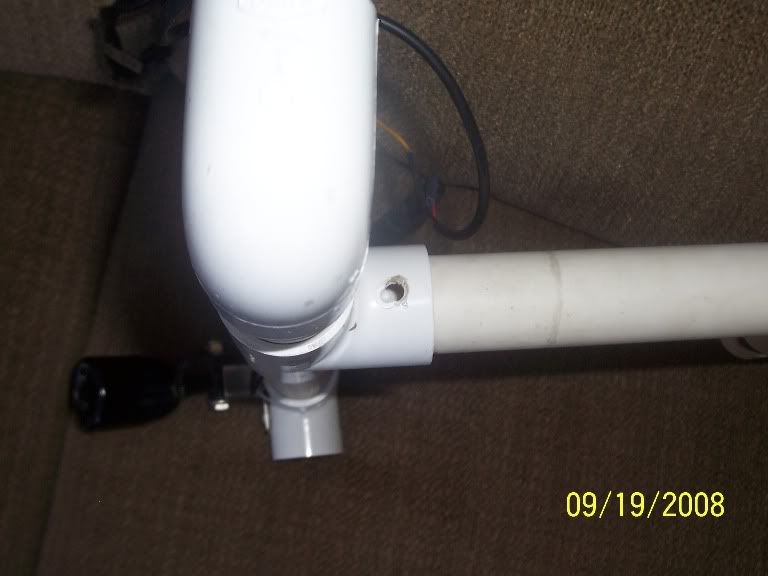
As stated before, since the fish finder mount assembly is an attachment to the rod holder assembly, I had to secure it so the fish finder assembly doesn't fall off and into the drink. I accomplished this by drilling a hole through the T connector of the finder assembly and the 8" crossbar of the rod holder assembly. Then inserting a small bolt to secure it in place.
After I'm happy with the fit and alignment, it's time to glue down the pieces so nothing falls apart while on the water. Be careful when gluing the pieces together as the cement dries up fast. Once it dries, it's permanent. So if you mess up with alignment, you'll have to start over.
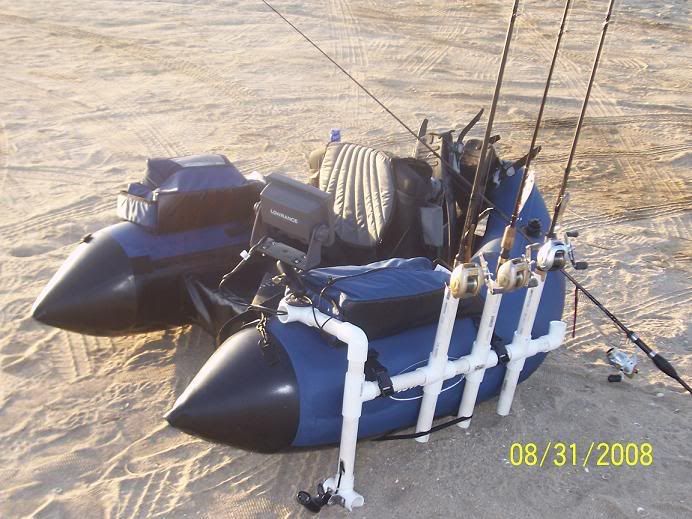
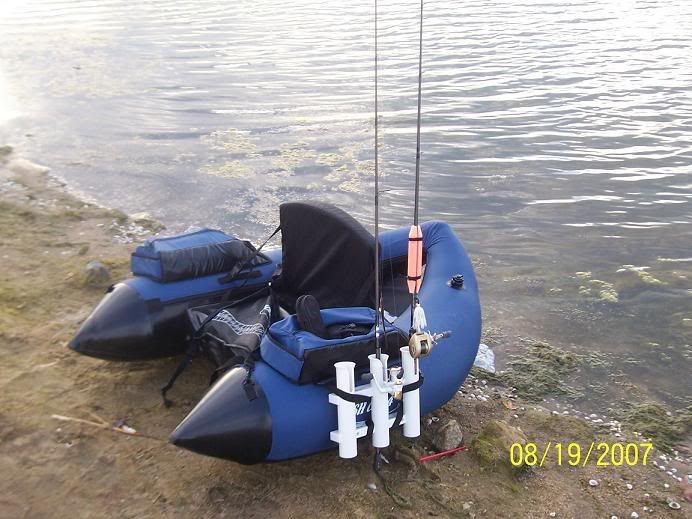
Assembled and fully functional


 Reply With Quote


 P.S. How's this for a decal?